 Clash Verge
x64
For 64-bit Windows on an Intel or AMD processor.
Version 2.5.10 · 60 MB
Download x64Version 2.5.10 · EXE
Choose the right installer for Windows 10 or 11.
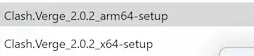
Installer files download directly from the official Clash Verge Rev GitHub repository. View all official release files.
Press Windows + I and open System → About. Under Device specifications, look for System type and match it to the options below.
For 64-bit Windows on an Intel or AMD processor.
Version 2.5.10 · 60 MB
For Windows on an ARM processor, such as Snapdragon.
Version 2.5.10 · 54 MB
Use one of these larger installers if the app opens to a blank window and you can’t install the WebView2 Runtime separately.
Open File Explorer → Downloads and double-click the setup.exe file for your processor. If you’re updating, exit Clash Verge from the system tray first.
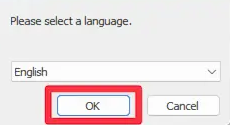
If the installer asks for a language, choose one and click OK. Follow the prompts, keep the default install folder if it appears, and click Install.
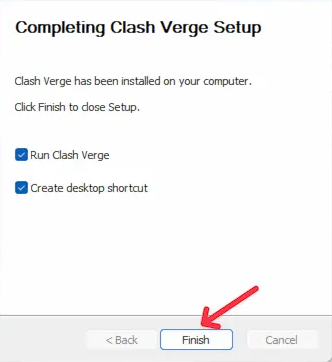
Click Finish. If the app doesn’t open on its own, open Start and search for Clash Verge. Once the dashboard opens, follow the first-time setup guide to import your profile and check your connection.
If you use Windows Package Manager, run this command in Terminal.
winget install --id ClashVergeRev.ClashVergeRev --exactThe current installers are for compatible 64-bit Windows 10 and Windows 11 PCs. Windows 7 support ended in earlier releases.
Turn off System Proxy in Clash Verge. If you enabled Tun Mode, turn it off as well.
Back up any profiles you want to keep. Turn off System Proxy and Tun Mode if they’re enabled, then exit from the tray. Open Settings → Apps, find Clash Verge, and choose Uninstall.